Investigating Cyanotype Developer Absorption
Filed under: Cyanotype, Photography, Chemistry
If you’ve read my previous article you know that there were some loose ends I was meaning to tie up using good old science, specifically the significant loss in sensitivity observed when mixing the classic potassium ferricyanide “developer” with your ammonium ferric citrate or ferric ammonium oxalate.
So let’s do that!
A quick recap
Before we get into it, a quick recap of how the “classic” cyanotype process and formula works!
We usually start out with two compounds, ammonium ferric citrate and potassium ferricyanide which get dissolved in water and brushed or otherwise coated onto some kind of substrate, usually paper.
Ammonium ferric citrate is light sensitive and when exposed to enough light the iron inside it gets reduced from it’s ferric +3 oxidation state into it’s ferrous +2 oxidation state. This ferrous iron can react with the ferricyanide present in the potassium ferricyanide and form the insoluble blue pigment ferric ferrocyanide, also known as prussian blue. The unreacted chemicals can simply be rinsed off after the exposure.
The main problem with this method is that it is very slow. Even under direct sunlight exposures take many minutes. And that’s just for contact prints. Using an enlarger or even doing in-camera photography is pretty much impossible.
Already pretty early on during my experiments I became aware of two other, much more light sensitive, methods though. One of them, called the “Blue Sheet Cyanotype”, substitutes the potassium ferricyanide for potassium ferrocyanide. Instead of containing iron in it’s ferric +3 oxidation state it contains iron in it’s ferrous +2 oxidation state.
When exposed to light this first forms colorless ferric ferricyanide which after some time (or persuasion with hydrogen peroxide) oxidizes into the same blue ferric ferrocyanide as the classic formula.
This formula is much faster! Exposures under bright sunlight can happen in a few minutes and it’s sensitive enough to use with a photographic enlarger to make prints from regular negatives. This quickly became the method I settled on for most of my cyanotype printing.
The other method is the “Cyanotype Rex”, which simply coats the paper with just the ammonium ferric citrate and exposes that by itself. The potassium ferricyanide is only brushed on after the exposure to develop the image. This isn’t quite as fast as the blue sheet method but still a lot faster than the classic version.
This second process but with the ammonium ferric citrate substituted by ferric ammonium oxalate, which is a lot more light sensitive, has become my go-to method for making in camera cyanotypes.1
I have already compared most of these different methods in my great cyanotype comparison if you need a refresher on how they stack up against each other for enlarger use.
The hypothesis
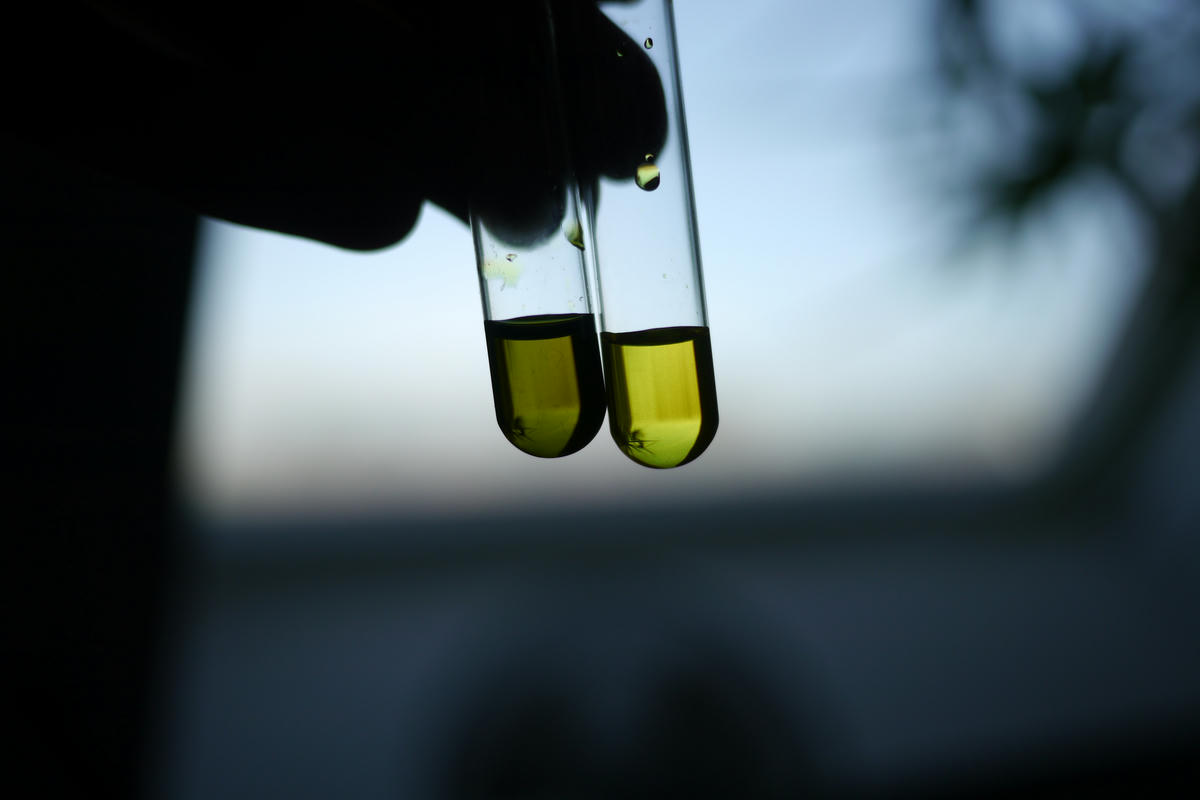
Looking at these two methods you might be led to believe that maybe the problem with the classic formula is simply the potassium ferricyanide, as substituting or simply removing it during exposure seemed to greatly increase the sensitivity.
But I wasn’t sure if it was a chemical reaction (after all, the ferricyanide and ferrocyanide do act differently when mixed with the ammonium ferric citrate2) or simply an optical phenomenon.
You see, the color and absorption spectrum of these transition metal complexes is strongly dependent on the oxidation state of their metal ion. So with both ammonium ferric citrate and potassium ferricyanide having their iron in the +3 oxidation state it seems reasonable to assume that their absorption spectra will be very similar. And just a quick look at them confirms that their colors are indeed very close.
So could it be possible that the developer simply absorbed a large portion of the light meant for the light sensitive compound? I’ve started calling this (suspected) phenomenon “developer absorption”, because of that.
The experiment
To test this hypothesis I needed a way to chemically isolate the developer from the light sensitive compound while still having the light go through both of them.
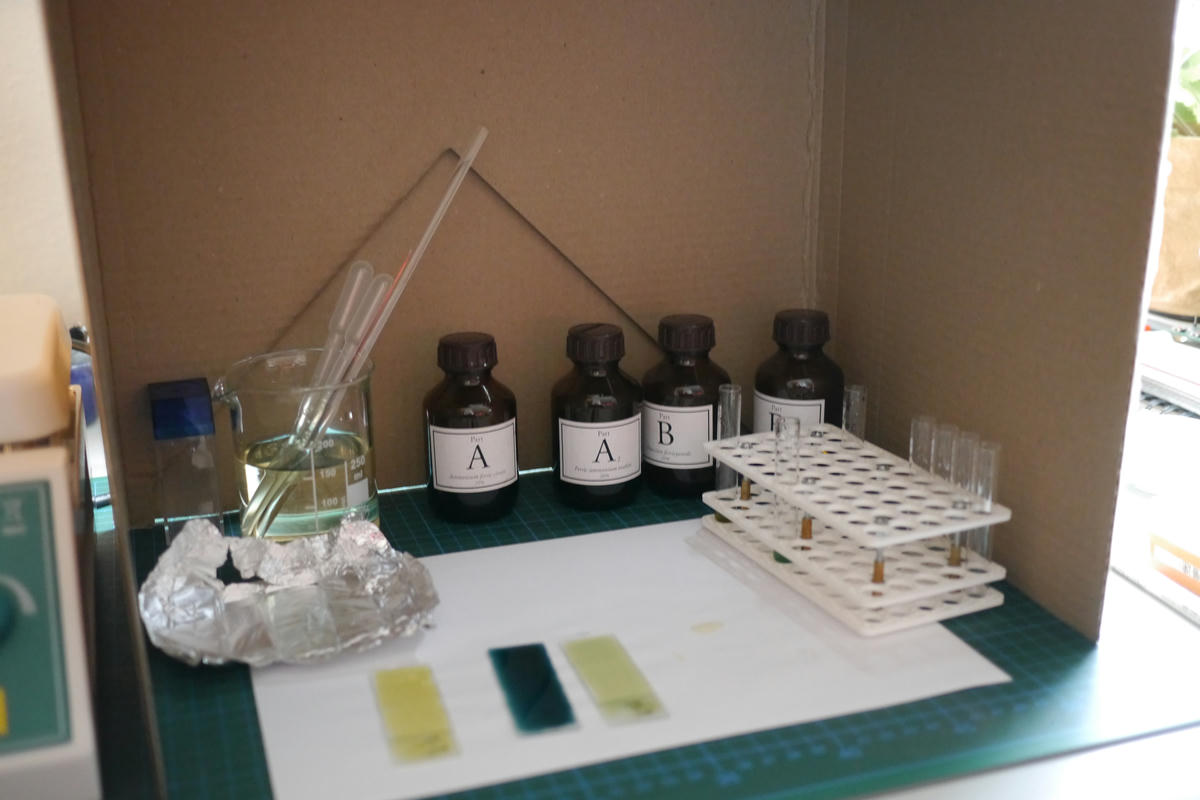
To do this I decided to prepare a large number of microscope slides which I covered in agar the same way I do for my photographic plates. I could then stack these plates so that one slide coated with a developer could act as a filter for a second slide coated with the light sensitive compound without the chemicals mixing. Afterwards the slides could be developed by soaking them in a solution of the selected developer.
I prepared a 2% solution of agar brought it to a boil in my microwave until it had fully dissolved and coated each slide by pouring just enough hot solution onto it to fully cover it without any spill over. I let the slides cool and set before drying them on a hotplate at 60°C.
At that point I ran out of energy for the project and let the slides sit on my desk for like 8 months. I assume this part is optional if you want to reproduce this experiment.
After I was done with that I coated each slide with 0.5ml of a solution of the selected chemical, let them soak it up for 15 minutes before wiping off any excess and drying them on a hotplate set to 45°C for around 30 minutes. This whole process was performed in a dimly lit room to prevent degradation of the light sensitive chemicals.3
The solutions used were as follows:
- Ammonium ferric citrate, 25% w/v
- Ferric ammonium oxalate, 20% w/v
- Potassium ferricyanide, 10% w/v
- Potassium ferrocyanide, 10% w/v
I also left some of the agar coated slides bare to observe the effect of the agar coating by itself.
This was my final plan for the experiment: Each light sensitive compound would be exposed through and developed with every compatible developer.
I also tested three slides coated with pre-mixed light sensitive compound and developer as a control. It should be noted though that the concentration of the chemicals in those slides was half that of the other slides because a 1:1 mix of same stock solutions was used.
| Slide | Light sensitive compound | Filter | Development |
|---|---|---|---|
| 1 | Ferric Citrate | Ferricyanide (+3) | Ferricyanide (+3) |
| 2 | Ferric Citrate | Ferrocyanide (+2) | Ferricyanide (+3) |
| 3 | Ferric Citrate | Agar | Ferricyanide (+3) |
| 4 | Ferric Citrate | Ferricyanide (+3) | Ferrocyanide (+2) |
| 5 | Ferric Citrate | Ferrocyanide (+2) | Ferrocyanide (+2) |
| 6 | Ferric Citrate | Agar | Ferrocyanide (+2) |
| 7 | Ferric Citrate + Ferricyanide (+3) | None | Water |
| 8 | Ferric Citrate + Ferrocyanide (+2) | None | Water |
| 9 | Ferric Oxalate | Ferricyanide (+3) | Ferricyanide (+3) |
| 10 | Ferric Oxalate | Ferrocyanide (+2) | Ferricyanide (+3) |
| 11 | Ferric Oxalate | Agar | Ferricyanide (+3) |
| 12 | Ferric Oxalate + Ferricyanide (+3) | None | Water |
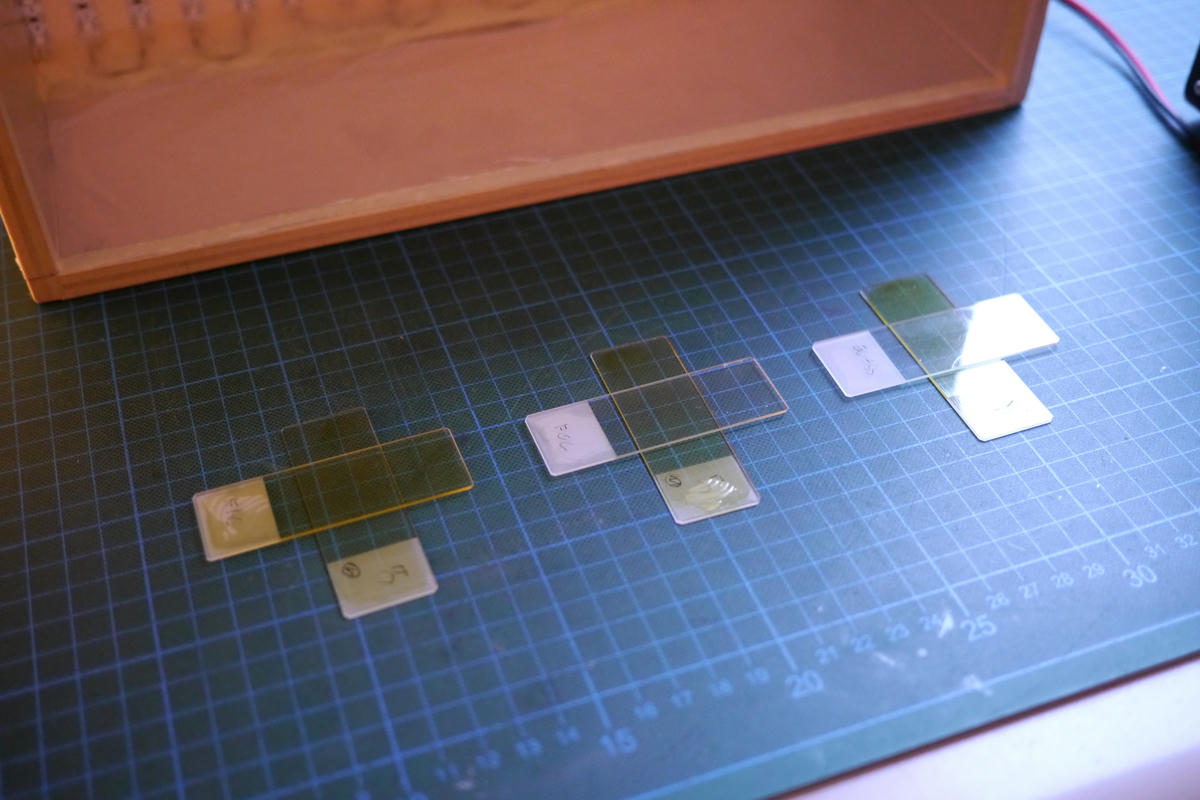
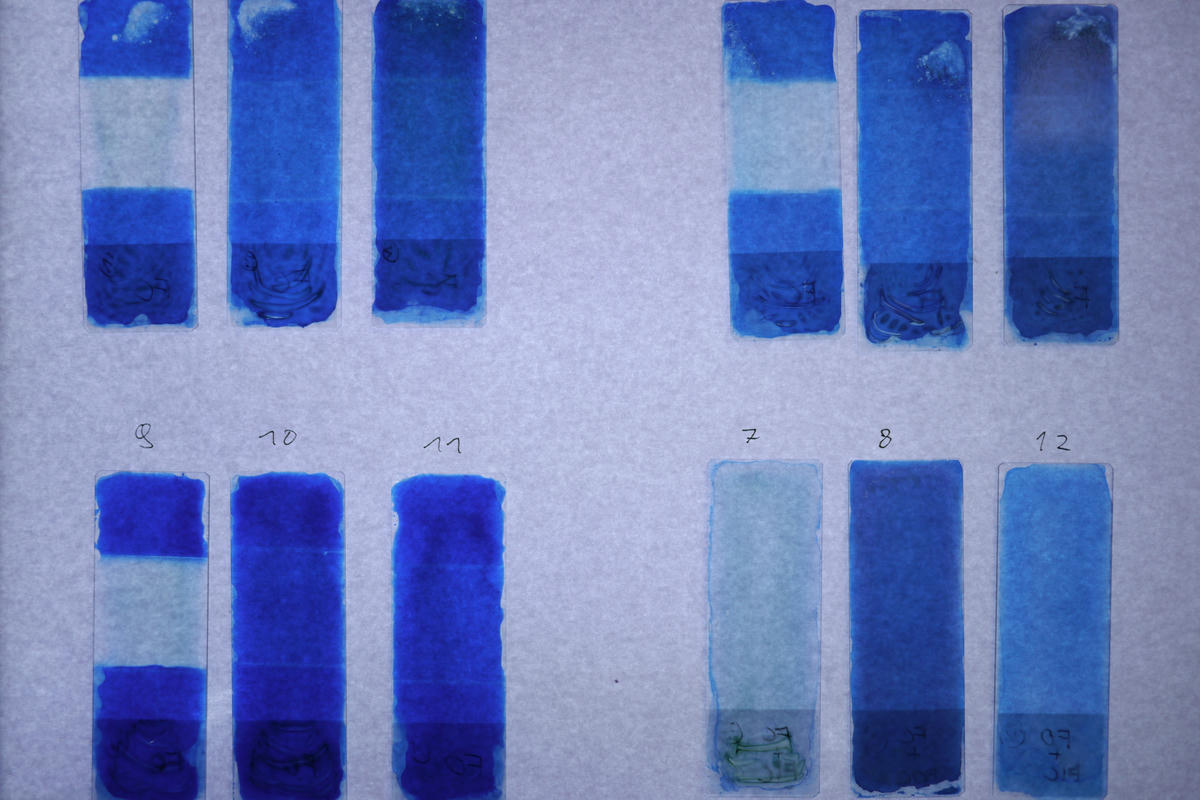
For each experiment the slide with the light sensitive compound was exposed though a filter slide placed across it at 90° so that there was a square patch where they overlapped in the middle of both of them. I did this so that the unfiltered part of the slide could act as control to make sure the exposure and development was successful.
These stacks of slides were exposed under a 405nm LED light source for 5 minutes, developed using the selected developer, and then rinsed using distilled water. Afterwards I dried them on a hotplate set to 60°C.
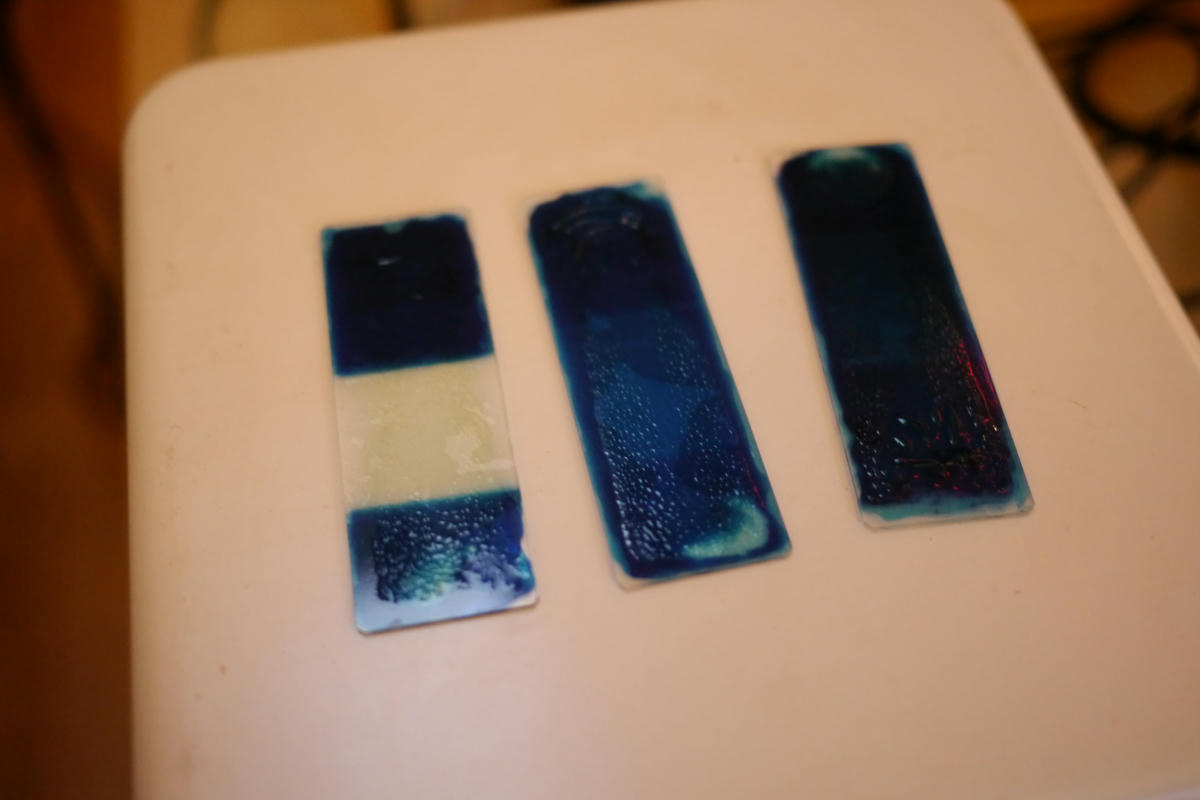
As you can see in the photos I didn’t do the best job of rinsing the slides, so some of them still show some green staining from the chemicals. This doesn’t have a huge effect on the outcome though.
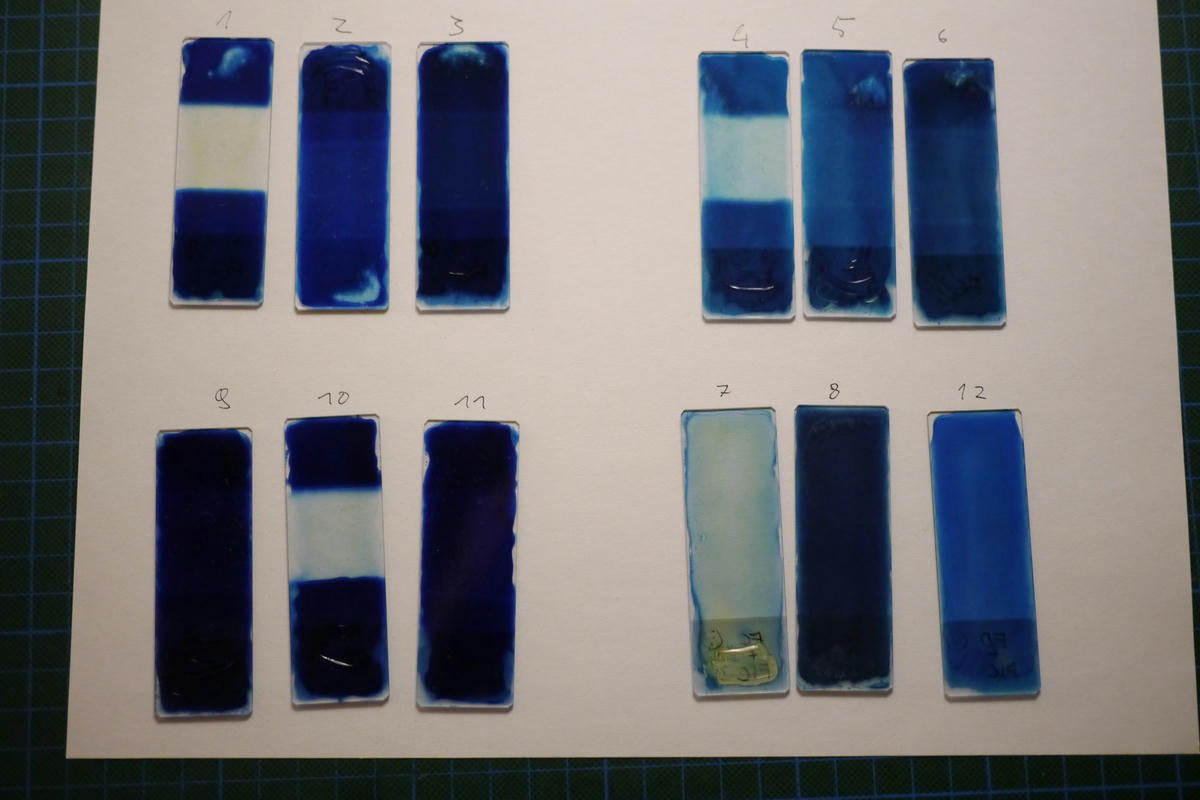
Afterwards the slides were placed on a light table and photographed using a digital camera with manual exposure and fixed ISO. I brought the images into image editing software to correct for vignetting and other artifacts before I converted them to black and white to measure their density. All files from this process are attached to the article.
I took the density readings from the images using a 200 pixel square area average (which covered most of the test area) and taking the K channel of the resulting CMYK color.
Results
| Slide | Light sensitive compound | Filter | Development | Density |
|---|---|---|---|---|
| 1 | Ferric Citrate | Ferricyanide (+3) | Ferricyanide (+3) | 14% |
| 2 | Ferric Citrate | Ferrocyanide (+2) | Ferricyanide (+3) | 60% |
| 3 | Ferric Citrate | Agar | Ferricyanide (+3) | 65% |
| 4 | Ferric Citrate | Ferricyanide (+3) | Ferrocyanide (+2) | 12% |
| 5 | Ferric Citrate | Ferrocyanide (+2) | Ferrocyanide (+2) | 57% |
| 6 | Ferric Citrate | Agar | Ferrocyanide (+2) | 54% |
| 7 | Ferric Citrate + Ferricyanide (+3) | None | Water | 24% |
| 8 | Ferric Citrate + Ferrocyanide (+2) | None | Water | 68% |
| 9 | Ferric Oxalate | Ferricyanide (+3) | Ferricyanide (+3) | 14% |
| 10 | Ferric Oxalate | Ferrocyanide (+2) | Ferricyanide (+3) | 79% |
| 11 | Ferric Oxalate | Agar | Ferricyanide (+3) | 73% |
| 12 | Ferric Oxalate + Ferricyanide (+3) | None | Water | 37% |
It is clearly visible that the slides exposed through the potassium ferricyanide have a significantly lower density (13%) than the ones exposed through either the potassium ferrocyanide (65%) or the bare agar covered slide (64%). I think this supports my hypothesis that there is an optical effect at play, but to clearly prove that this is related to the absorption spectrum of the iron (III) ion further investigation using a light spectrometer would probably be needed. And I don’t have one of those. Yet…
The three slides that used pre-mixed chemicals show the expected sensitivities. The overall density is higher since, I assume, the developer is not concentrated in a single layer above the light sensitive compound but interspersed with it throughout the height of the agar layer. This causes the effect to be somewhat less pronounced than in the other test samples and resembles a situation close to that encountered in normal use.
Conclusion
There really seems to be something to the idea that the light absorbed by the potassium ferricyanide negatively impacts the sensitivity of cyanotypes in a major way. While this does not account for the entire difference in speed as I’ve already determined during earlier tests it does make a large part of it.
That’s pretty cool, I think!
Fotnotes
The reason I’m not using ferric ammonium oxalate with potassium ferrocyanide is that the two chemicals are not compatible and immediately form a large amount of the pigment when mixed. A tiny amount of pigment is is also formed when mixing potassium ferrocyanide with ammonium ferric citrate, which is where the name “blue sheet” comes from, but this is not usually a problem.
As I’ve already said in the above footnote a tiny amount of pigment is is also formed when mixing potassium ferrocyanide with ammonium ferric citrate. Have you even been reading my footnotes?!
The photos taken for this article were set up specifically so you could actually see something on them and don’t reflect the actual working conditions.
